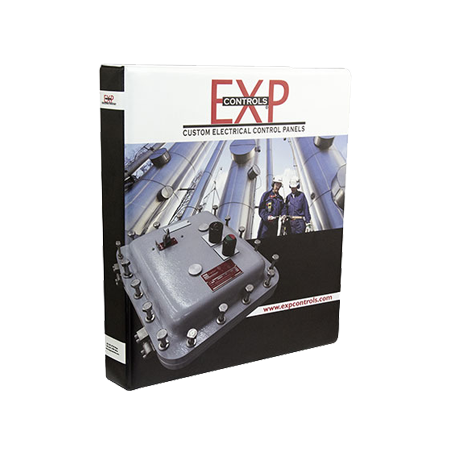
While file folders and baskets can help alleviate clutter by collecting the paper pile all in one place, they don’t really offer any assistance when it comes to presenting information in an appealing and attractive way to clients. Neither do these office tools help you locate a particular document quickly. It can sometimes feel like trying to find a needle in a haystack! Fortunately, this is where binders come into play.
Using a three ring binder is easiest of all to sustain and requires minimal setup time.
In this article, we will help you learn how to better organize your custom binder so that, by design, everything is easy to find and your stress is relieved. Keep reading for some simple steps on how to ensure fast access to important information, while preventing clutter and removing messy stacks of paper by having one organized location for all important content.
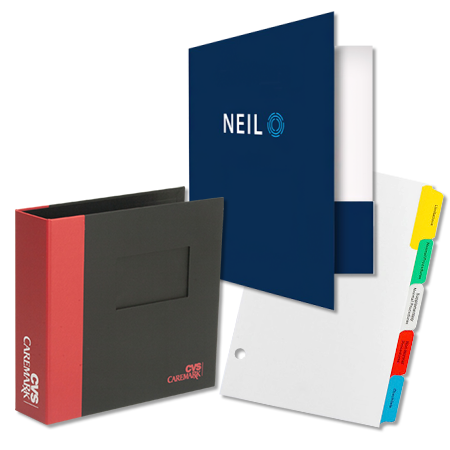
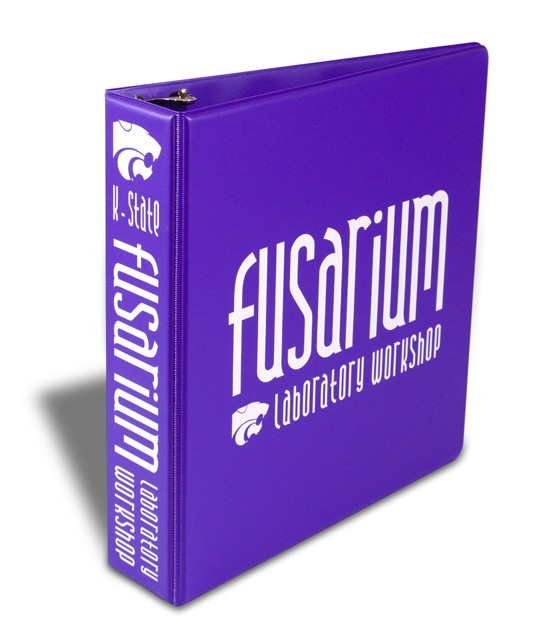 Start with a custom ring binder. We recommend using a standard 3-ring binder; however, there are multi ring options available as well. Consider what ring size (capacity) you will need and check out this guide for recommended ring sizes based on sheet count. If you choose a custom three ring binder, you can use any standard 3-hole punch. An inside pocket and business card holder also comes in handy if your budget allows.
Separate your content into sections. Gather your mock-up text (content) and separate by grouping relevant content and categories together. Once separated into sections, decide what the flow of the story should be. For instance, do you want an "introduction" or "about our company" section first? Should products or services information come next? Do you want to end with a price list or forms section? Use sticky notes that hang off the edge of the paper with the title of each section so you can easily keep track of what each stack of paper contains.
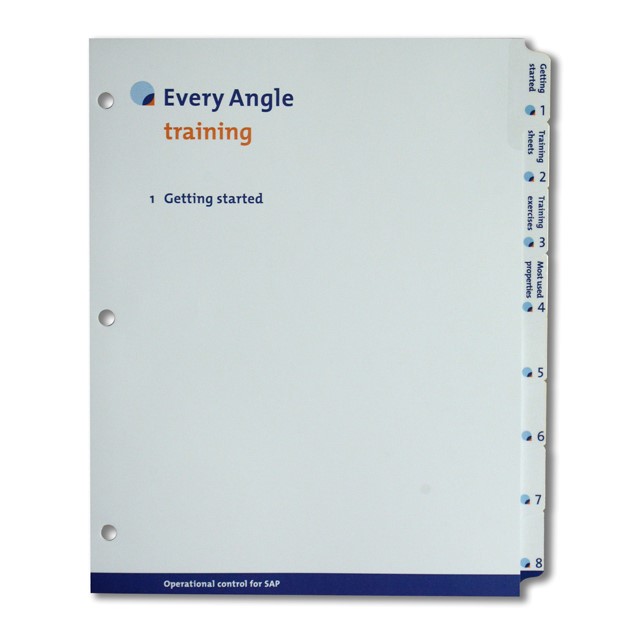
Index tabs to Organize. Index Tabs should be inserted to provide numbers or titles to mark the beginning of each section. Index Tabs make finding the various categories and information extremely easy for you and your client. Since Tabs usually come already hole-punched, you will not need to do so; HOWEVER, we recommend punching a few blank sheets of paper and matching them up to the Index Tabs to be sure the holes are aligned for easy turning and the binder content looks tidy. If they do not line up, simply make the adjustments on the hole puncher to match the Index Tab hole spacing.
Start Punching. After your content is placed in the correct order and you’ve lined up the holes, start hole punching your materials. Be sure to keep everything in proper order. Adding Index Tabs as you move through the material can help.
Insert Your Material into the Binder. Once the materials are punched and the Index Tabs have been inserted, place the content into your custom binder. If you opted for the inside pocket, you may decide to insert a cover letter or introduction letter explaining the content you are providing or include any instructions for use you think are important. If you opted for a business card holder, now is the time to place your card in the designated pocket. Your customer will find it very handy to reference by simply opening up the binder.

Celebrate!
Now your binder is in working order and ready for duty.
Need Assistance? If you need help designing and creating your custom vinyl binder, poly binder, or index tabs please contact us at 800-962-1807 or send us an email at .


